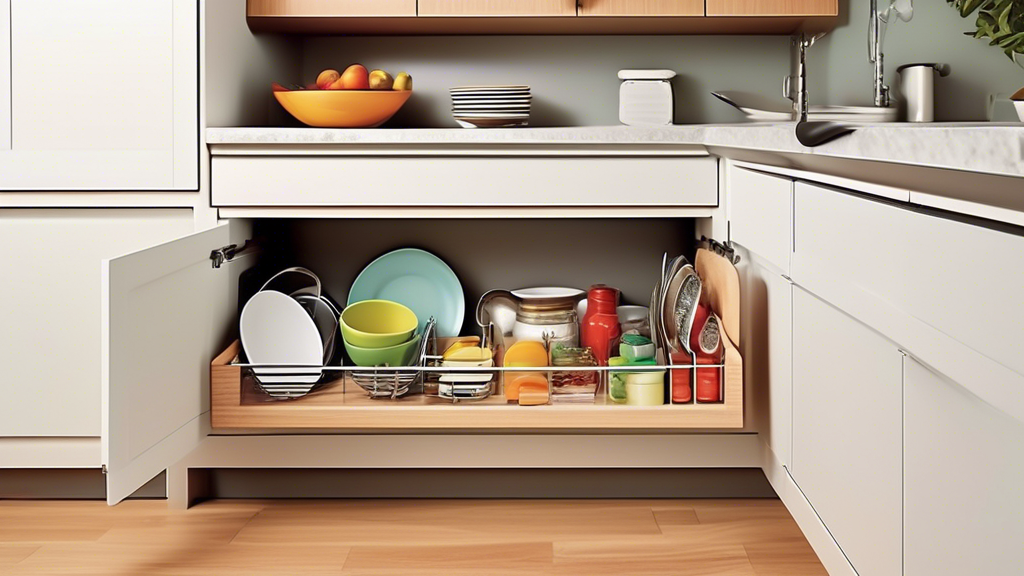
Convenient Under-Cabinet Storage Baskets: A Quick and Easy Installation Guide
Share
Convenient Under-Cabinet Storage Baskets: A Quick and Easy Installation Guide
Under-cabinet storage baskets are a fantastic solution to declutter and maximize the space in your kitchen. These handy baskets make it easy to access frequently used items while keeping your counters clear. If you're looking to install under-cabinet storage baskets in your kitchen, this quick and easy guide will help you get the job done in no time.
Step 1: Gather Your Supplies
Before you begin, make sure you have all the necessary supplies on hand. You will need the under-cabinet storage baskets, a measuring tape, a pencil, a drill, screws, and a screwdriver. Ensure that the baskets you have chosen are the correct size to fit under your cabinets and have a weight capacity that meets your needs.
Step 2: Measure and Mark the Placement
Using the measuring tape, determine the space where you want to install the baskets under your cabinets. Mark the placement with a pencil, making sure the baskets will be easily accessible and won't interfere with any doors or drawers.
Step 3: Install the Baskets
Use the drill to create pilot holes for the screws according to your markings. Then, simply attach the baskets using the screws and a screwdriver. Make sure the baskets are securely fastened to the underside of the cabinets.
Step 4: Enjoy Your Newly Organized Space
Once the baskets are installed, you can start filling them with items like cutting boards, lids, kitchen towels, or any other small kitchen essentials. Enjoy the convenience of having these frequently used items within easy reach but out of the way, keeping your kitchen looking neat and organized.
With just a few simple steps, you can quickly and easily install under-cabinet storage baskets in your kitchen. Say goodbye to cluttered counters and hello to a more organized and efficient cooking space!
Related Posts
-

7 Best Kitchen Shelf Organizers for Heavy Cookbooks
You're looking for a kitchen shelf organizer that can handle your extensive collection of heavy cookbooks. You'll fin...
