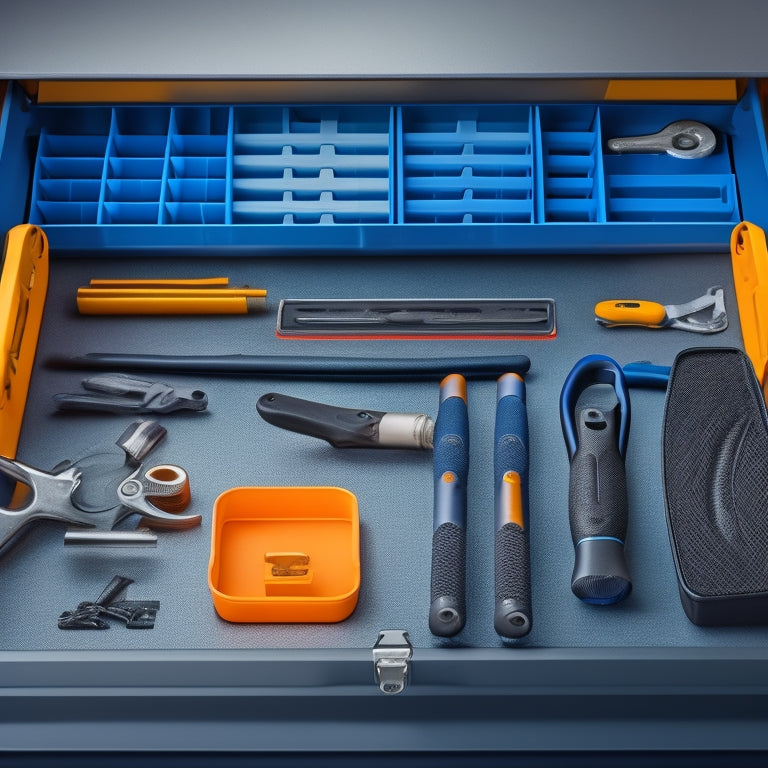
Revamp Toolbox With 3D Printed Wrench Organizers
Share
I've wasted hours digging through my cluttered toolbox, searching for the right wrench. But I've found the solution: 3D printed wrench organizers. To get started, I'll need a 3D printer and access to Gridfinity STL files, along with about 2kg of plastic in a color that complements my toolbox. Next, I'll explore pre-designed organizer options with magnet holes and customize the color to personalize my toolbox aesthetic. With my printer settings in place, I'll start printing organizers one by one for my desired layout. Once I've strategically placed them, my toolbox will be transformed, and I'll be able to maximize my efficiency - and that's just the beginning of my toolbox makeover.
Key Takeaways
• Invest in a 3D printer and access Gridfinity STL files to create custom wrench organizers that fit your toolbox aesthetic.
• Choose the right 3D printer by evaluating cost, print resolution, build volume, and layer thickness to suit your project requirements.
• Explore pre-designed organizer options with magnet holes and customize color options to personalize your toolbox and enhance professionalism.
• Prepare your 3D printer with necessary settings and materials, then download and print wrench organizer files one by one for your desired layout.
• Strategically place printed organizers for maximum efficiency, customize color options, and reconfigure layout as needed with the Gridfinity system.
Gather Essential Supplies
I'll need a 3D printer and access to the free Gridfinity STL files to get started, along with about 2kg of my preferred plastic color to bring my custom toolbox organizers to life.
To find a suitable printer, I can either invest in my own or find a friend with one who's willing to print my files for a small fee.
Next, I'll source the necessary plastic, selecting a color that complements my toolbox's aesthetic.
With these essentials in place, I'll be ready to begin printing my custom organizers.
I'll choose a plastic color that enhances the overall look of my toolbox, ensuring a professional and organized workspace.
Choose Your 3D Printer Option
With the Gridfinity STL files and preferred plastic color in hand, selecting a 3D printing solution that meets my needs is the next important step in bringing my custom toolbox organizers to life.
I'll compare features of different 3D printer options, considering factors like print resolution, build volume, and layer thickness.
Evaluating cost-efficient options is essential, as I want to maximize my budget. I'll research and weigh the pros and cons of each printer, from FFF/FDM to SLA/DLP, to determine which one best suits my project's requirements.
Explore Gridfinity Organizer Options
Gridfinity's open-source system offers a wide range of pre-designed organizer options, featuring magnet holes for stability and adaptability to suit various toolbox configurations.
As I explore these options, I'm impressed by the custom color options available, allowing me to personalize my toolbox's aesthetic.
The magnet stability feature ensures that my organizers stay securely in place, even in tight spaces. I'm also considering the security features, guaranteeing that my tools are protected from unauthorized access.
Additionally, I can choose additional bases to provide extra stability and support.
With Gridfinity's modular design, I can mix and match different organizers to create a tailored system that meets my specific needs. This level of control and flexibility is precisely what I need to optimize my toolbox organization.
Start Printing Your Organizers
Now that I've explored the various organizer options, it's time to bring my toolbox organization vision to life by printing the custom wrench organizers that will help me achieve maximum efficiency.
With 3D printing, I can create custom organizers that fit my specific needs and preferences.
Here are the key steps to start printing:
-
Prepare your 3D printer with the necessary settings and materials.
-
Choose your custom color options to match your toolbox aesthetic.
-
Download the wrench organizer files from the Gridfinity profile.
- Start printing your organizers, one by one, to achieve your desired layout.
Finish Toolbox Organization
Finishing my toolbox organization requires strategically placing the newly printed wrench organizers in the drawer to maximize efficiency and visibility.
I customized the color options to fit my personal style, ensuring a cohesive look that also enhances the overall aesthetic.
With the Gridfinity system, I can easily reconfigure the layout to suit my daily tasks.
The secure installation of the organizers provides quick access to my tools, saving me time and effort.
I've organized my nuts and bolts, and can now easily find what I need, preventing loss and misplacement.
Frequently Asked Questions
Can I Use a Different Type of Plastic for My Organizers?
'I can experiment with different materials for my 3D printed organizers, but I'll need to guarantee the plastic's properties won't compromise the design's functionality; custom colors are also an option, allowing me to personalize my toolbox's aesthetic.'
How Do I Ensure the Printed Organizers Fit My Toolbox Perfectly?
'I guarantee my printed organizers fit my toolbox perfectly by double-checking sizing accuracy, adjusting dimensions as needed, and troubleshooting fit issues before printing to prevent compatibility issues and achieve a seamless fit.'
Are There Any Safety Precautions When Using 3D Printed Toolbox Organizers?
When using 3D printed toolbox organizers, I guarantee safety by maintaining my printer, selecting durable materials, and customizing designs to fit my toolbox perfectly, preventing accidents and tool damage.
Can I Customize the Design of the Gridfinity Organizers?
'As I immerse myself in the world of 3D printing, I realize that customization is key - and with Gridfinity, I can tweak designs to my heart's content, leveraging design flexibility to create organizers that fit my toolbox like a glove.'
How Often Should I Clean and Maintain My 3D Printed Organizers?
I clean my 3D printed organizers every two weeks, wiping them down with a soft cloth and mild detergent to maintain their durability and longevity, ensuring they remain functional and organized for years to come.