Revamp Your Kitchen: DIY Shelves Unleashed
Share
I'm revamping my kitchen by unlocking the potential of DIY shelves, and with a little creativity, I can turn this blank space into a stunning focal point that enhances storage and style. I start by demolishing and preparing the wall, removing upper cabinets and patching holes for a seamless backdrop. Next, I measure and cut high-quality wood, selecting unfinished lumber for a cost-effective option. Then, I install sturdy brackets, ensuring safety and ample support. With my shelves in place, I'm ready to add a touch of personality with styling and decor that brings the whole look together - and I'm excited to share my tips and tricks to achieve a showroom-worthy kitchen.
Key Takeaways
• Create a blank canvas by removing upper cabinets, patching, and painting the wall for a seamless backdrop.
• Choose high-quality, straight lumber, measure accurately, and cut carefully to minimize waste and ensure stability.
• Select sturdy brackets that prioritize safety, and follow manufacturer's instructions for secure installation.
• Add style and visual appeal by staining shelves, arranging them thoughtfully, and incorporating statement decor and greenery.
• Opt for budget-friendly decor, repurpose items, and focus on kitchen organization to maximize storage space and create a stunning kitchen.
Demolish and Prepare the Wall
After removing the upper cabinets, I'm left with a blank canvas, ready to be transformed, and the first order of business is to patch and paint the wall to create a seamless backdrop for my DIY open shelving.
I grab my trusty putty knife and Patching Plaster to fill in any holes or imperfections. Once dry, I sand the area smooth, ensuring a flawless surface for painting.
With my paint matching the wall color, I apply a fresh coat, allowing it to dry completely before moving on to the next step. This critical paint preparation stage sets the tone for a professional-looking finish, and I'm excited to see my DIY open shelving come to life.
Measure and Cut the Wood
With my wall now perfectly primed, I measure the space multiple times to determine the ideal shelf length, guaranteeing a snug fit that complements the room's aesthetic.
I opt for unfinished lumber for cost-effectiveness and plan to stain the wood for a desired finish.
Here's my checklist for measuring and cutting the wood:
-
Accurate measurements: Record the length, width, and any obstructions to secure a precise fit.
-
Lumber selection: Choose high-quality, straight lumber to minimize warping and secure stability.
-
Cutting planning: Plan my cuts carefully to minimize waste and optimize the use of my lumber.
- Sand and stain prep: Prepare the wood for staining by sanding it to a smooth finish.
Choose and Install Brackets
I determine the quantity of brackets I need based on the weight capacity and desired shelf spacing, making sure that my open shelving system is both safe and visually appealing.
For bracket selection, I prioritize safety by choosing sturdy options that can support the weight of my shelves and items. I opt for 11.25 in. brackets, which provide ample support without compromising the aesthetic.
During the installation process, I follow the manufacturer's instructions and use studs for secure placement. I pre-mark the holes to avoid mistakes and guarantee a seamless process.
Add Shelves and Decorate
Eleven feet of Douglas Fir common lumber, carefully stained to perfection, now await their debut as the crowning glory of my open shelving system. It's time to add the shelves and decorate!
I'm excited to finally see my kitchen come together. To achieve the perfect look, I'll focus on:
-
Shelf styling: arranging my favorite pieces in a visually appealing way.
-
Wall decor: adding a few statement pieces to create a cohesive look.
-
Balancing elements: ensuring that each shelf has a mix of large and small items.
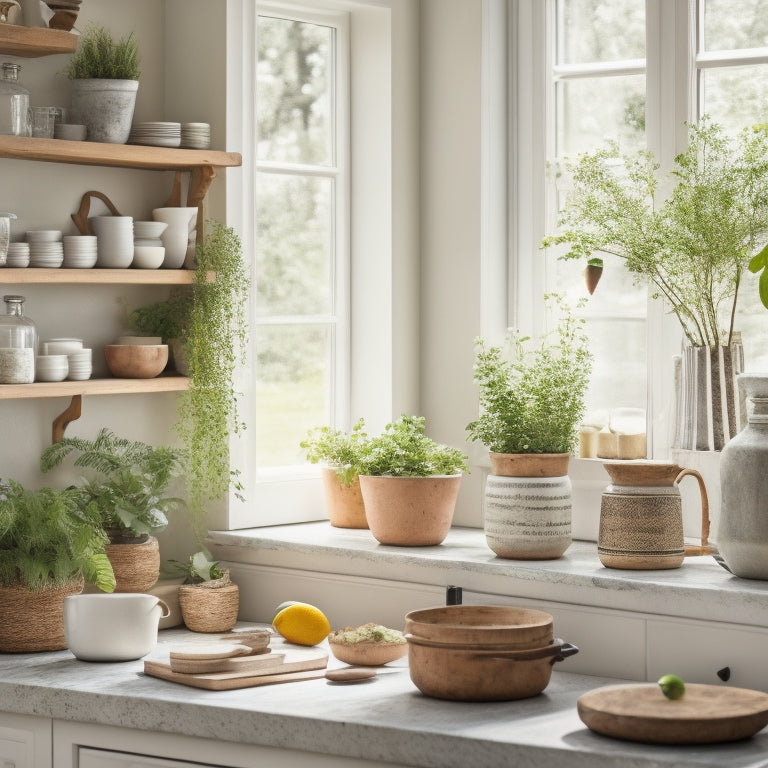
- Adding greenery: incorporating plants to bring in a touch of natural beauty.
With these elements in place, my kitchen will be transformed into a stunning space that's both functional and beautiful. I can't wait to show it off!
Budget-Friendly Renovation Tips
By embracing a few strategic cost-cutting measures, I was able to transform my kitchen into a stunning space without breaking the bank. One of the most effective ways to save money is to opt for budget-friendly decor. Instead of splurging on expensive decorative pieces, I repurposed items I already had or found affordable alternatives.
For instance, I used vintage jars and baskets to add a touch of rustic charm to my open shelves. Additionally, I focused on kitchen organization by maximizing storage space and utilizing vertical areas. By doing so, I created a functional and visually appealing kitchen that exudes a sense of calm and serenity.
Frequently Asked Questions
What Type of Wood Finish Is Recommended for DIY Shelves?
When it comes to DIY shelves, I recommend exploring wood stain options like oak or walnut, and then sealing with polyurethane or varnish for a durable, glossy finish that showcases the natural beauty of the wood.
Can I Use MDF or Plywood Instead of Douglas Fir Lumber?
"As I weigh my wood options, I'm torn between the affordability of MDF and the durability of plywood - but for DIY shelves, I'd recommend plywood for its added strength and resistance to warping."
How Do I Ensure the Brackets Are Securely Fastened to the Wall?
'I guarantee securely fastened brackets by using a stud finder to locate wall studs, then drilling anchors into them and screwing in the brackets - a foolproof method for a sturdy shelf installation.'
What Is the Ideal Weight Capacity for DIY Open Shelving?
When planning my DIY open shelving, I consider shelf placement and weight distribution to guarantee stability, choosing shelf materials with a suitable load capacity to hold the desired weight, avoiding overcrowding for a safe and stylish space.
Can I Stain the Wood Shelves After They're Already Installed?
"As I ponder the wood staining process, I conclude that, alas, it's not advisable to stain the wood shelves after installation, for it may compromise the finish and hinder the benefits of staining shelves, which include enhanced aesthetic appeal and durability."
Related Posts
-

Simplify Meal Planning for Busy Professionals in 5
You're about to revolutionize your meal planning routine! Start by setting clear goals, identifying your dietary pref...
-

10 Best Digital Solutions for Renters' Kitchen Chaos
You're tired of kitchen chaos, where cluttered counters and disorganized cupboards make meal prep a nightmare. It's t...

