Easy Guide to Installing a Magnetic Knife Strip
Share
Easy Guide to Installing a Magnetic Knife Strip
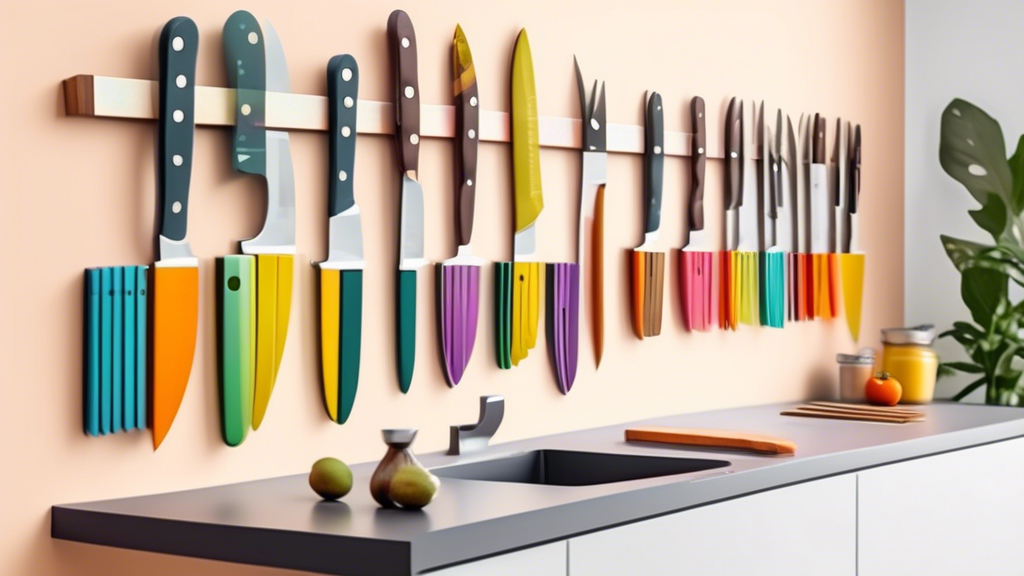
One of the best ways to organize your kitchen knives and free up counter space is by installing a magnetic knife strip. Not only does it keep your knives within easy reach, but it also adds a modern touch to your kitchen decor. Installing a magnetic knife strip is a simple and quick process that you can do yourself with just a few tools and materials.
Materials Needed:
- Magnetic knife strip
- Screws
- Wall anchors (if necessary)
- Pencil
- Screwdriver or drill
- Level
Steps to Install a Magnetic Knife Strip:
1. Choose a Location: Select a suitable location in your kitchen where you want to mount the magnetic knife strip. Make sure it is easily accessible and away from any heat source.
2. Mark the Position: Hold the knife strip against the wall and use a pencil to mark the position of the screw holes. Use a level to ensure the strip is straight.
3. Mount the Knife Strip: If your wall is made of wood, you can simply screw the knife strip directly into the wall using the provided screws. If you have a tiled or concrete wall, you may need to use wall anchors for added support.
4. Secure the Knife Strip: Use a screwdriver or drill to secure the knife strip in place. Make sure the screws are tight and the strip is firmly attached to the wall.
5. Test the Magnetism: Before hanging your knives, test the magnetism of the strip by running a kitchen knife along its surface. Ensure that the knives stick securely to the strip.
6. Hang Your Knives: Once the magnetic knife strip is securely installed, arrange your knives on it. Make sure to evenly space them out and avoid overcrowding to prevent accidents.
By following these easy steps, you can quickly install a magnetic knife strip in your kitchen and enjoy the benefits of having your knives organized and easily accessible while cooking.